I'm making a quiet book for my little grandson..He's now three...I've got the cover done and on to the actual interactive pages themselves! I'm mainly sticking with Imagine Our Life pages....she's my favorite designer....As far as I know, she has done a whole series of quiet pages for the years 2012 and 2013. She has some AMAZING other quiet page activities that aren't necessarily a book. One is a laptop quiet activity book...ALL MADE OF FELT and FELT PIECES. She's a graphic designer, so her designs are just above and beyond the usual simple quiet page. Her pages are mostly hand sewn, I am machine sewing as much as possible to save time.....
Despite the machine sewing, each page takes HOURS to make....tracing patterns, cutting the felt, little hand stitches here and there, details to make the pages more "real"...Lots of attention to details in her patterns.
My first page for Barron was a sandcastle page......
Each piece is separate from the other except for the roof which is attached to each piece. Each piece is double layered. The waves on the seashore are tulle and rick rack. Under the castle door is a little crab that I hand drew. She stitched hers. Clever lady, that Stephanie is! The sandcastle page is actually a two page spread and the other side looks like this:
The bucket holds all the sandcastle pieces when you are not using them! I used a real skinny cotton rope handle for my bucket.
The next page I tackled was the mailbox page. I just love this one!
I used stiff Peltex interfacing for the mailbox flag. It moves up and down. The mailbox can be closed with the elastic loop button closure. When you open it, "You've got mail!"
And each of the little felt letters opens like a real envelope. The pattern calls for velcro to stick and unstick, but I thought I would just leave the envelopes plain. I am going to stick a little note inside each letter for my little grandson from his grandma. Awwwwwwwwww........ I used real stamps and zigzagged stitched them down. I wanted to "date" this activity book so later on, he could remember what year his grandma made it for him!
My third activity page was from Imagine Our Life, and it's a nod to Starbucks as Barron and his mom LOVE to go to Starbucks.
Although he can count to 20 and count individual items very well, this page will still be fun for him with the tea bag that comes in and out and snaps on the page, the strawberries can be added to the pink frappucino (there's velcro behind the ruffly ribbon "whipped cream". And under cup number 2, there are two coffee beans hiding in the cup cozy! Well, for Pete's sake! I just notice I forgot to blanket stick the right side of the cozy!
Off to a great start....Next up is a pirate page with a treasure chest, an authentic looking pirate map and treasure booty AND a message to Barron in a bottle!
Thanks to Imagine Our Life, this is going to be a really really cool quiet book, if I do say so myself!
See you later....Gotta get back to my sewing!
I've changed gears again in my crafting room. Never a dull moment....Decided to make a quiet book for my little grandson, who is now three years old. I WAS going to make an ABC book, but since I procrastinated, he already knows his letters of his alphabet and most of the sounds that each letter makes! He's one smart cookie and he is growing so fast, and gaining knowledge so fast, I need to hurry up and make this little book before he outgrows it! So, here's how I got started....
I researched Pinterest, a fantastic place for ideas. But I'm terrible at thinking up my own designs, so I have to go looking at other people's ideas or patterns and get permission to make them if I'm going to sell them. I found a favorite designer, Stephanie, who has a blog and has done a TON of quiet book pages. She sells commercial licenses and posts freebie pages for quiet books and activities on her blog, Imagine Our Life, if you want to just make one book for yourself. I'm definitely going to purchase some commercial licenses, should I decide to make a quiet book and put it in my shop on Etsy, JeanBeanGifts.
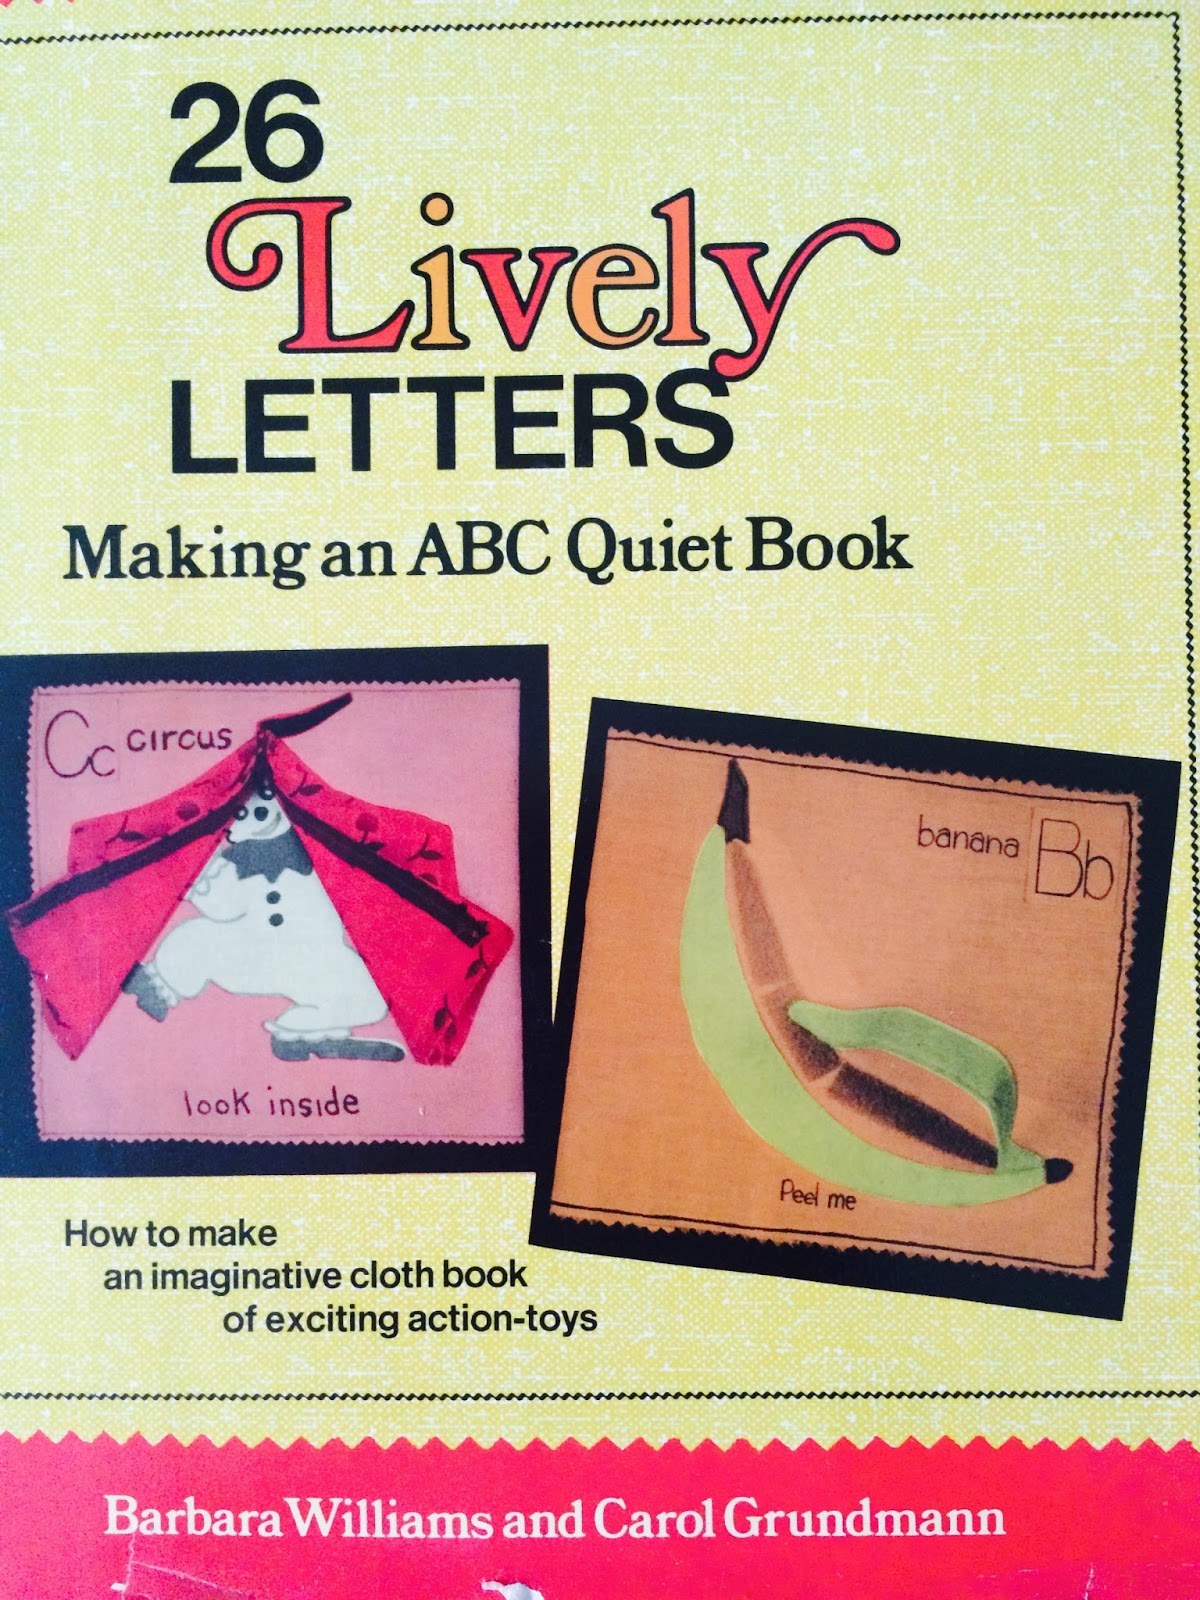
Making a quiet book is a BIG undertaking, and it's not cheap! My first quiet book I made in the seventies for my little girls. It was an ABC book made from thin muslin pages. It was called 26 Lively Letters and it came out in 1977, right around the time my girls were babies and in the terrible twos. It had a velcro banana that you peeled back, it had a guitar with elastic cord strings, it had a vinyl shoe with really grommets and shoelaces... A lot of felt, a lot of supplies, a LOT of time went into that. I actually found the original book on Etsy and bought it, thinking I would duplicate it for my grandson. Kerry, my youngest, said she played with the book for YEARS! I don't remember that, but so happy that it provided many many hours of enjoyment.


When I got it in the mail, I was so disappointed at how dated all the pages looked. Did I really want to make a book that looked old from the start? I wasn't sure. There were still some wonderful ideas for interactive pages, so I kept it, if nothing more than for a memory blast to the past for my daughters. But I may incorporate a couple ideas, we'll see....
But--I really wanted to do something much more current so I turned to the internet. Now, THIS is what I'm talking about! Check out Pinterest and type in "Quiet Books" and WOW! So many great ideas! Here's a link.... https://www.pinterest.com/search/pins/?q=quiet%20book
So I got started on the cover.....Two pieces of complementary fabric cut about 28 1/2" long by 12" deep. I sandwiched fusible interfacing between the two layers of fabric, wrong sides to the fusible interfacing, then applied the fabric binding all around the edges. I didn't use bias binding just to make it easier on myself. I could have made things a LOT easier by sandwiching the layers so that I could have turned them inside out and had seamed edges but I forgot to do that after fusing the interfacing! But I love doing binding, I really do, so I didn't mind putting a binding on the edges like a quilt. I folded the cover in half and then inserted grommets on the front and back. The finished cover measures 14" X 12" after being bound. I love this lizard fabric! It was left over from another project.

I sewed a 1" webbing strap onto the cover, leaving enough extra webbing hanging out of the buckle so that the thick felt pages can still be contained. I measured extra webbing to add a little loop to the webbing for a carrying handle. Hope you can see that in the photos. I stitched the carrying handle down on the two sides, at the "binding seam" reinforcing with extra stitching to make it very sturdy. There isn't really a binding seam on this cover as it is just one long piece of fabric folded in half, but that's where I put the handle.

I did not realize that there is a right side and a long side to the plastic buckle. When I inserted the webbing strap through the side of the buckle, I didn't check to make sure that the OTHER end would go through the buckle and pull snug to a stop on the teeth of the buckle. I merrily sewed the buckle strap several times in two different places to make SURE that this buckle would never detach from the cover. THEN I pulled the strap around to buckle it and discovered the attaching buckle strap just pulled right through the buckle hole and right on out. WHAT THE HECK? The buckle was upside down. I had to patiently rip out all my double and triple stitching on the buckle strap and boy, was that difficult to see on the webbing! So test your buckle strap before sewing down and make sure the loose end strap doesn't pull right out of the buckle.....Sigh.....

My inside pages are double layered felt, a 9 X 12 backing piece and a 9X 12" front piece. Each layout is 9" X 9". After I make the layout, then I zigzag it to one piece of 9 X 12 felt, and then layer ANOTHER 9 X 12 piece of felt behind the layout. This makes the grommet section very sturdy. I suppose that's overkill, but if you are using less expensive felt like me, then the double layer is going to make the book last longer. I got my background cream felt at JoAnn Fabrics. It's 60" wide, so you get a lot of felt for your money. If you are using high quality felt such as 80% wool, 20% nylon, it's so thick, you could probably use just one layer to appliqué or zig zag your 9 X 9" design to it.
The grommet/large eyelet holes are tough to do. I don't have any kind of punch to punch holes in fabric. A 1/4" hole paper punch is the perfect size for the large eyelets, but mine doesn't reach far enough into the "spine" to make the hole. It does punch nicely on scrap felt so if it just had a longer reach into the fabric, it would work! So I've been using an awl to push through the two felt fabric layers, then very very carefully using fine tip micro blade scissors to enlarge the hole by cutting little snips around the hole made by the awl. And then I work and work to get the eyelets through the fabric and scrunched down so they can get a bite on the fabric when I use the little tool that comes with them. I bet someone could think up an easier way or knows of a tool that will punch through two thick felt layers. Crop-a-Dile punch, maybe? I'd love to hear from someone. I actually bought a leather punch tool kit with multiple hole sizes that is supposed to punch through fabric too, but it doesn't. Grrrrrrrr.......
That's enough for today....I will be sharing my actual completed pages in the next couple of posts.....Thanks for stopping by!